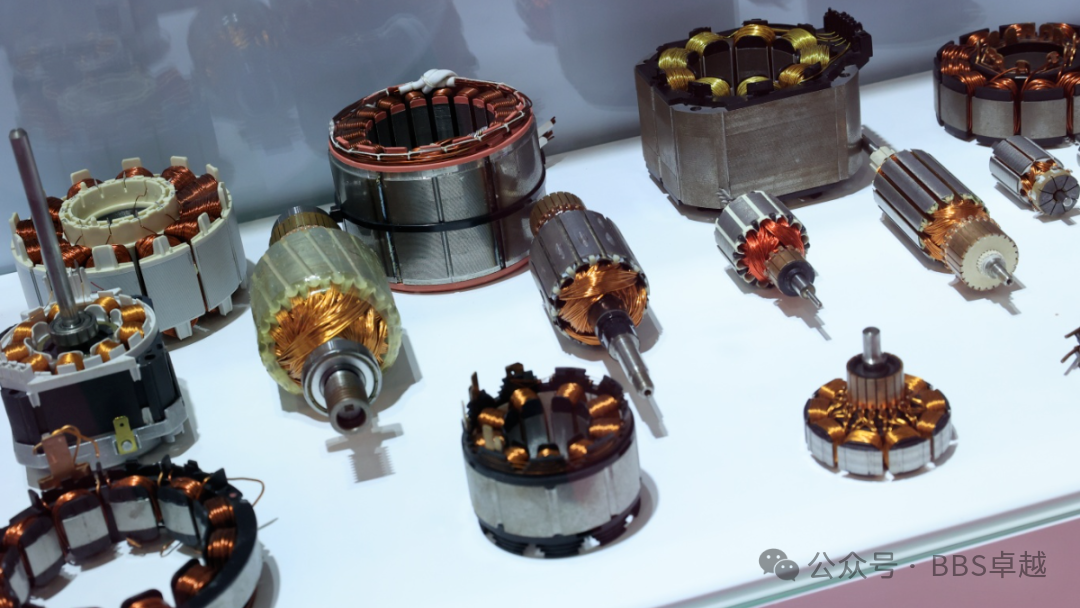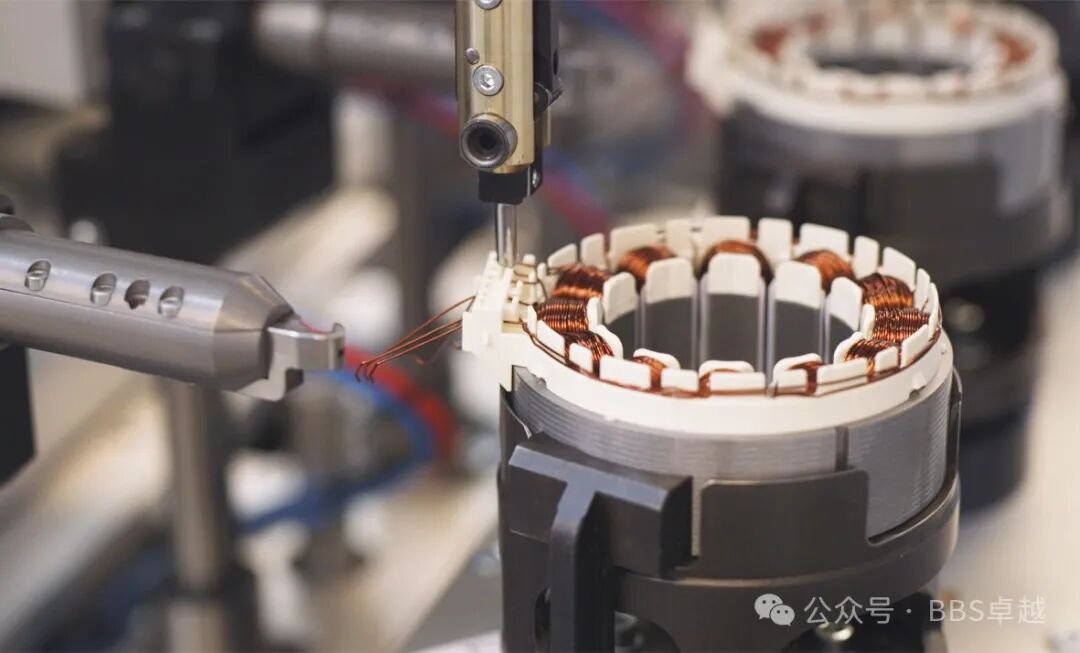
Every electric motor starts with a stator. It is the stationary part that carries the copper windings and creates the rotating magnetic field, and it largely decides the motor's efficiency, noise level, and service life. For motor factories, stator quality is also a production question: the processes behind it, from lamination stamping to final testing, determine how consistent every motor will be.
This article walks through the five main stages of electric motor stator manufacturing and explains where automation makes the biggest difference.
Step 1. Stamping and stacking the stator core
The stator core is built from thin electrical steel laminations, usually 0.2 to 0.65 mm thick. High-speed progressive dies stamp the slots and the outer profile, and the laminations are stacked and locked by interlocking points, welding, or bonding. Burr control matters here: excessive burr short-circuits the laminations and raises iron loss. Factories that do not stamp in house buy ready-made core stacks from a motor lamination stamping supplier.
Step 2. Insulation and slot preparation
Before copper enters the core, every slot must be insulated. Slot liners, phase insulation, and wedges keep the winding from touching the grounded core. On automated lines this step is handled by paper inserting machines with inline checks for missing or misaligned insulation, because an insulation fault found later usually means scrapping the whole stator.
Step 3. Coil winding: needle, flyer, and hairpin
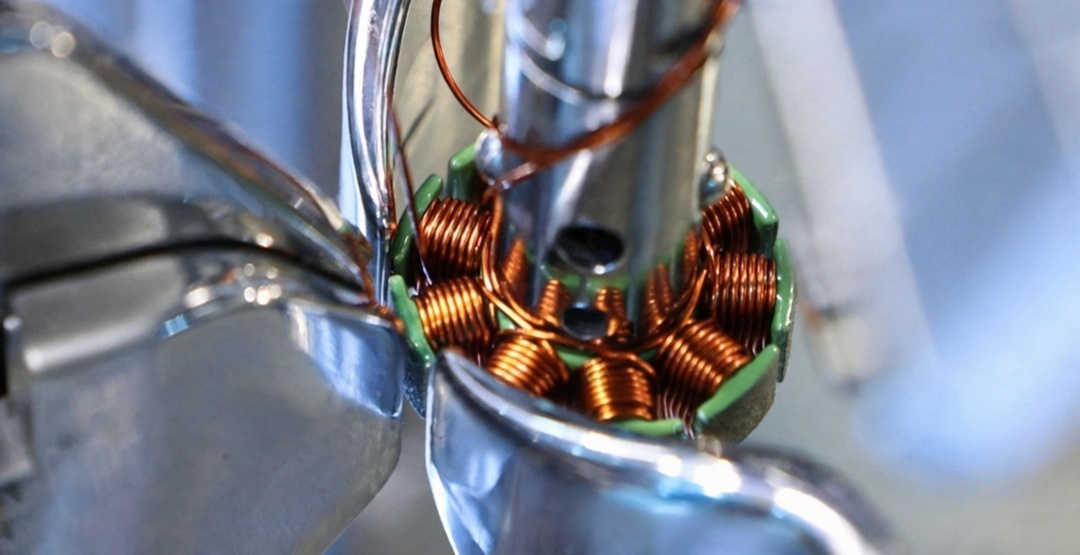
Winding is the heart of stator production. Three mainstream methods dominate today:
1. Needle winding. A nozzle moves through the slot and lays round wire directly into it. This is the standard for BLDC stators used in drone motors, power tools, and home appliance motors, and modern needle winders reach high slot fill with excellent repeatability. 2. Flyer winding. The wire is spun onto the poles from the outside. It suits outer rotor motors and small stators with accessible poles. 3. Hairpin insertion. Preformed flat copper bars are inserted, twisted, and welded. This is the dominant process for EV traction motors and increasingly for DD direct drive washing machine motors, where high slot fill and short end windings improve efficiency and torque density.
The right choice depends on slot geometry, wire size, and volume. High-mix factories often combine two processes on one line.
Step 4. Connection, lacing, and impregnation
After winding, the coils are connected to lead wires or a busbar, the end windings are laced or formed, and the stator is impregnated with resin or varnish to lock the coils, improve heat transfer, and block moisture. Trickling, dipping, and vacuum pressure impregnation are the common options, chosen by insulation class and cost target.
Step 5. End-of-line testing
No stator should leave the line untested. A standard test sequence covers surge testing to catch turn-to-turn shorts, hipot testing for insulation strength, and resistance and inductance measurement, with partial discharge checks added for higher voltage motors. Automated test stations record every result against the stator serial number, which is exactly what automotive and appliance customers ask for in audits.
When does a fully automatic line pay off?
As a rule of thumb, once output passes roughly 500 to 800 stators per shift, or when takt time must stay under 60 seconds, automation stops being optional. A modern stator line combines core handling, insulation, winding, connection, impregnation, and testing with robot transfer and full traceability, and it can switch between stator variants in minutes rather than hours.
Frequently asked questions
Q: What is the difference between needle winding and hairpin winding? A: Needle winding lays round wire directly into the slots and suits most BLDC and appliance stators. Hairpin winding uses preformed flat bars that are inserted and welded, achieving higher slot fill for EV and DD direct drive motors.
Q: How thick are stator laminations? A: Common gauges are 0.5, 0.35, 0.27, and 0.2 mm. Thinner laminations reduce eddy current loss but cost more and demand more precise stamping dies.
Q: Can one line produce different stator models? A: Yes. Flexible lines use quick-change tooling and recipe-based programs, so changeover between stator variants takes minutes.
Q: What tests does a stator need before motor assembly? A: At minimum: surge, hipot, and resistance. Traction and high-efficiency motors usually add partial discharge and additional insulation checks.
Q: How do I choose between semi-automatic and fully automatic production? A: Look at volume, takt time, and labor cost. Below a few hundred stators per shift, semi-automatic cells are usually more economical. Above that, a turnkey motor assembly line pays back through labor savings and stable quality.
Planning a new stator line or upgrading an existing one? We design and build turnkey motor assembly lines covering core handling, insulation, winding, impregnation, and end-of-line testing. Tell us your stator drawing, takt target, and plant layout, and we will propose a configuration.
Product page: https://www.ldmotortech.com/en/products/motor-assembly